Getting ready for the Class A CDL skills test in Virginia? This step-by-step guide covers the full pre-trip inspection, from the in-cab checks to the back of the trailer. It explains how the four-part air brake check works, what can cause an automatic failure, and how the modernized test is different. It also covers the mistakes that trip students up most often.
What Is a CDL Pre-Trip Inspection?
A pre-trip inspection is a check every truck driver does before driving to make sure the truck is safe. Federal and state laws require it for every CDL driver. For CDL students, the inspection is also the first part of the CDL skills test, and they must pass it before moving on to the backing and road tests.
The Virginia CDL skills test has three parts
- Pre-trip inspection
- Basic vehicle control (backing)
- On-road driving test
What the pre-trip covers
- In-cab controls and safety equipment
- The brakes, including the air brake check
- Lights and reflectors
- The engine area, steering, suspension, tires, and wheels
- The coupling and trailer
How Does the Modernized CDL Test Work in Virginia?
Virginia’s Commercial Driver’s Manual follows the modernized national CDL testing system. The test still checks whether a driver can spot an unsafe truck, but it focuses on the parts that matter most for safety.
Under the modernized test:
- Drivers may use the official checklist during the test and check items off as they go.
- The inspection focuses on safety-critical items instead of every part of the truck.
- Drivers inspect one axle, but they should be ready to inspect any axle.
- Drivers do not have to crawl under the truck.
A shorter test is not an easier test. Drivers still have to name each part, point to or touch it, and explain what they are checking for. A driver who points at a part without explaining it does not get credit.
Step-by-Step Class A Pre-Trip Checklist
This checklist follows a Class A tractor-trailer from the cab to the back of the trailer. Drivers should have a tire pressure gauge, a tread depth gauge, and wheel chocks.

Step 1: Safe Entry and In-Cab Checks
Drivers should climb in facing the truck and keep three points of contact at all times. Getting in or out the wrong way can count as an unsafe act. Before the engine starts, the parking brake should be set and the truck should be in neutral.
- Dashboard lights: The turn signal, four-way, high beam, ABS, and diesel exhaust fluid (DEF) indicators should all work.
- Safety equipment: The cab should have spare fuses or circuit breakers and a charged, secured fire extinguisher. There should also be three red reflective triangles or the required flares.
- Windshield and mirrors: The windshield should be clean with no cracks. Mirrors or cameras should be clean and adjusted.
- Wipers and washers: Blades should be secure, and both wipers and washers should work.
- Heater and defroster: Both should work when turned on.
- Horn: The air horn, electric horn, or both should work.
Step 2: Parking and Service Brake Checks
- Parking brake: The parking brake should hold the truck in place during a gentle pull forward.
- Trailer brake: The trailer brake gets the same test, with the tractor parking brake released and the trailer brake set. This also helps confirm the trailer is coupled.
- Service brake: The service brake is tested with a firm stop from about 5 mph. The truck should stop without pulling to one side.
Step 3: The Four-Part Air Brake Check
This is the most important part of the in-cab inspection. Missing or getting any of the four parts wrong is an automatic failure. The ranges below come from the Virginia Commercial Driver’s Manual. Drivers should also know the numbers listed by their truck’s manufacturer, since those can differ.
- Governor cutout: Air pressure builds with the engine running, and the governor should stop the compressor at about 120 to 140 psi.
- Leak rate: The leak test is done with the engine off, the key on, the brakes released, and the brake pedal held down for one minute. A combination vehicle should lose no more than 4 psi in that minute.
- Low air warning: Pumping the brake pedal lowers the air pressure. The low air buzzer, light, or both should come on before pressure drops below 55 psi.
- Emergency brakes: As pumping continues, the parking brake valve should pop out between 20 and 45 psi. The trailer valve should pop out at the same time or before the tractor valve.
Step 4: Lights Check
Each light should be turned on and checked from outside the truck. This includes headlights, high beams, turn signals, four-ways, clearance lights, taillights, and brake lights. On the test, the examiner may help, but the driver has to say which light to watch each time.
Step 5: Walk-Around and Engine Area
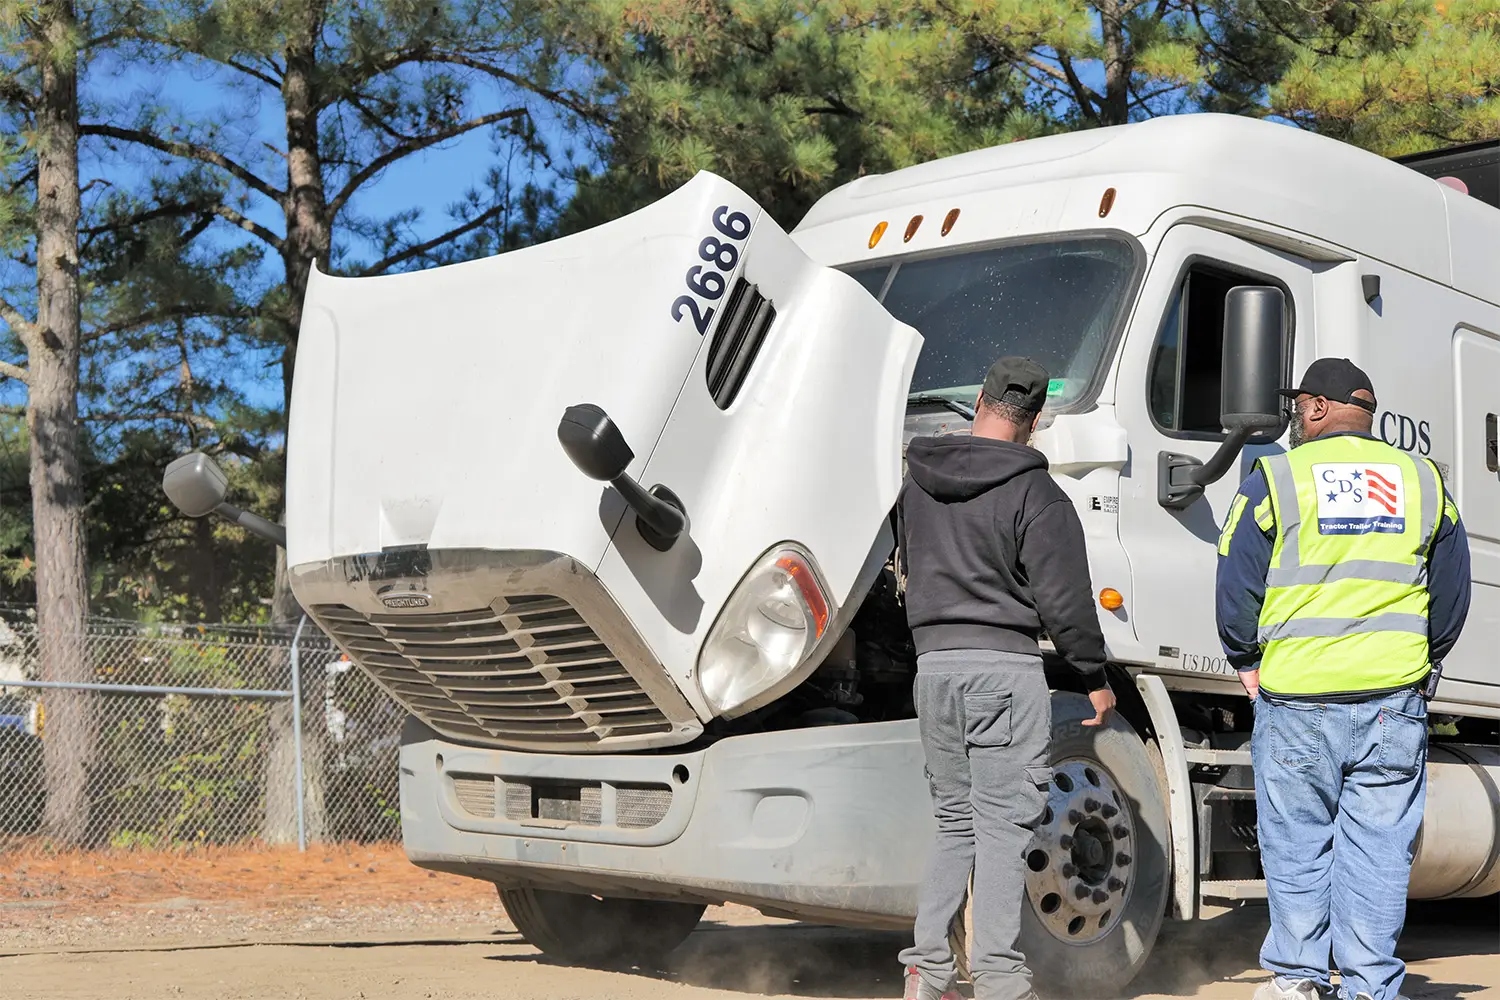
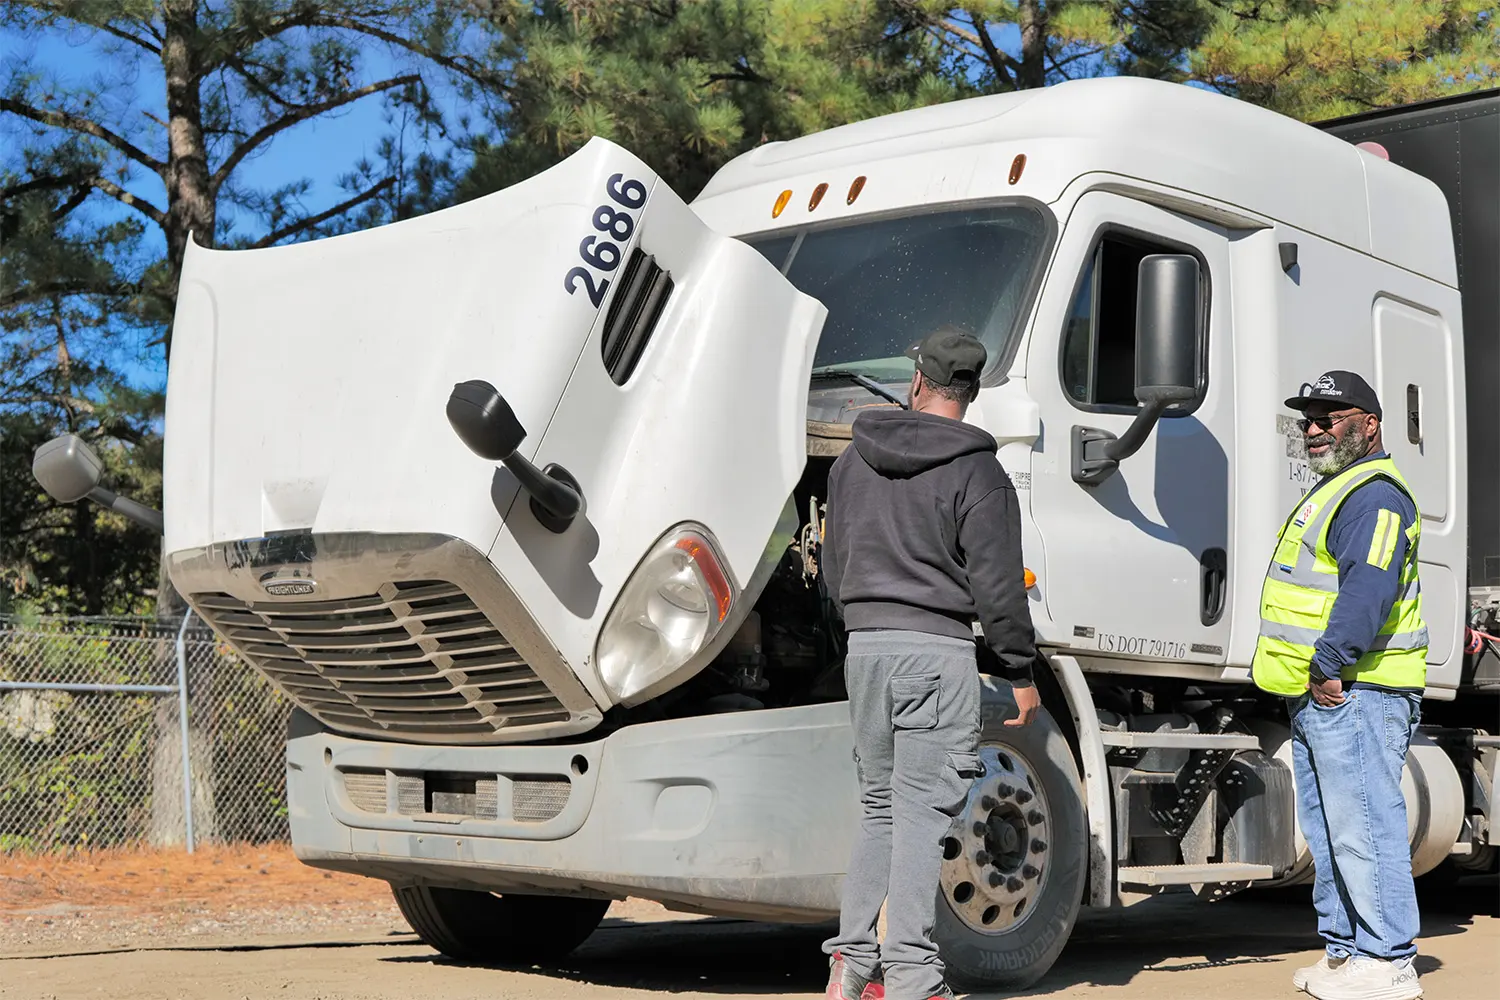
A quick look at the whole truck comes before checking single parts. The truck should sit level, with no puddles underneath and no sound of air leaks. Next comes the engine area, with the engine shut off.
For every part on the walk-around, three questions cover most of what an examiner wants to hear: Is it secure? Is it damaged? Is it leaking?
- Lenses: Light covers should be the right color, clean, and not broken.
- Fluid levels: Engine oil, coolant, power steering fluid, and brake fluid (hydraulic brakes only) should be between the add and full marks. The radiator cap should never come off a hot engine.
- Leaks and hoses: No drips under the engine and no worn or leaking hoses.
- Steering system: The steering box should be mounted tight with no leaks. Links and rods should not be cracked or loose, and no nuts, bolts, or cotter pins should be missing.
Step 6: Steering Axle
- Tires: Air pressure should be checked with a tire gauge. Tires should have no cuts, bulges, or damaged valve stems. Tread depth must be at least 4/32 of an inch on steer tires and 2/32 on all others.
- Rims: No cracks, bends, or welding repairs, and no stretched bolt holes.
- Lug nuts: All present and tight, with no rust trails or shiny threads that point to looseness.
- Springs, U-bolts, air bags, and shocks: No cracked, shifted, or missing parts, and no leaks.
- Brake lines and hoses: No cracks, wear, or leaks, and all fittings secure.
- Brake contamination: No grease or oil on the brake linings or drums.
Step 7: Side of the Truck
- Lenses and reflectors: Clean, the right color, and not broken or missing.
- Mirrors: Clean, not cracked, and mounted tight.
- Battery: Secure, with tight connections and no heavy corrosion.
- Fuel and DEF tanks: Mounted tight, caps on, and no leaks.
- Frame and tandem release: No cracks, broken welds, or holes, and the tandem release pins secure.
Step 8: Coupling
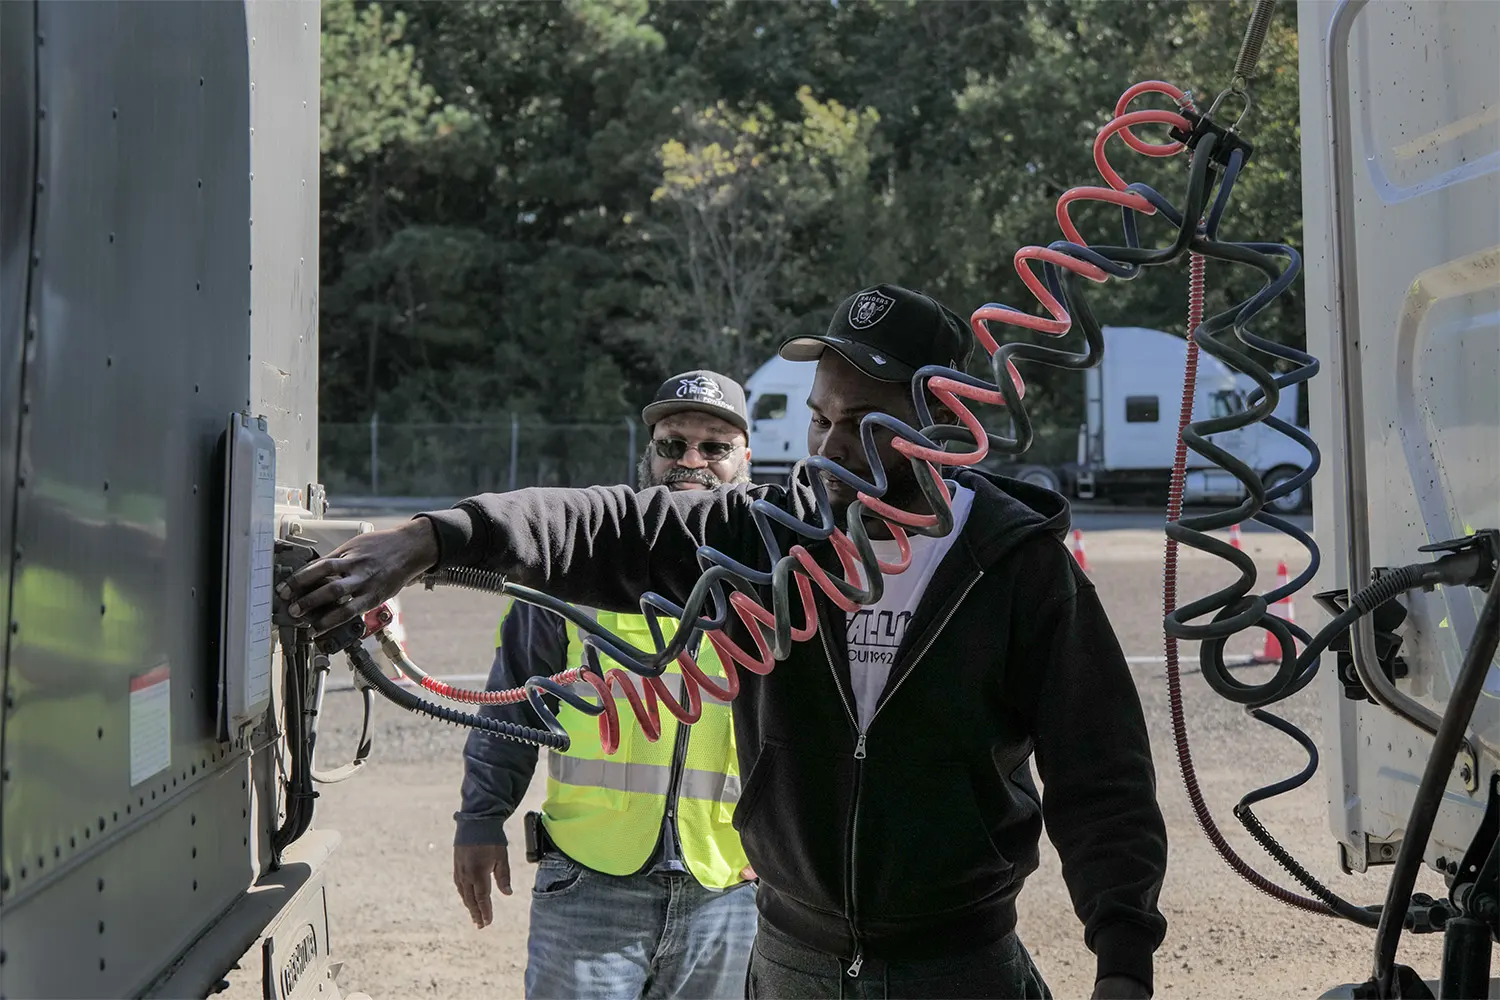
- Air and electric lines: Connections on both the tractor and the trailer should be seated and locked, and the lines should not be cut, chafed, taped, or dragging.
- Fifth wheel skid plate: Mounted tight, with no cracks or heavy wear.
- Kingpin, apron, and gap: The kingpin should not be bent or worn. The trailer should sit flat on the fifth wheel with no gap.
- Locking jaws and safety devices: The jaws should be closed around the kingpin, the release arm should be locked, and the sliding fifth wheel pins should be fully in.
Step 9: Trailer and Rear
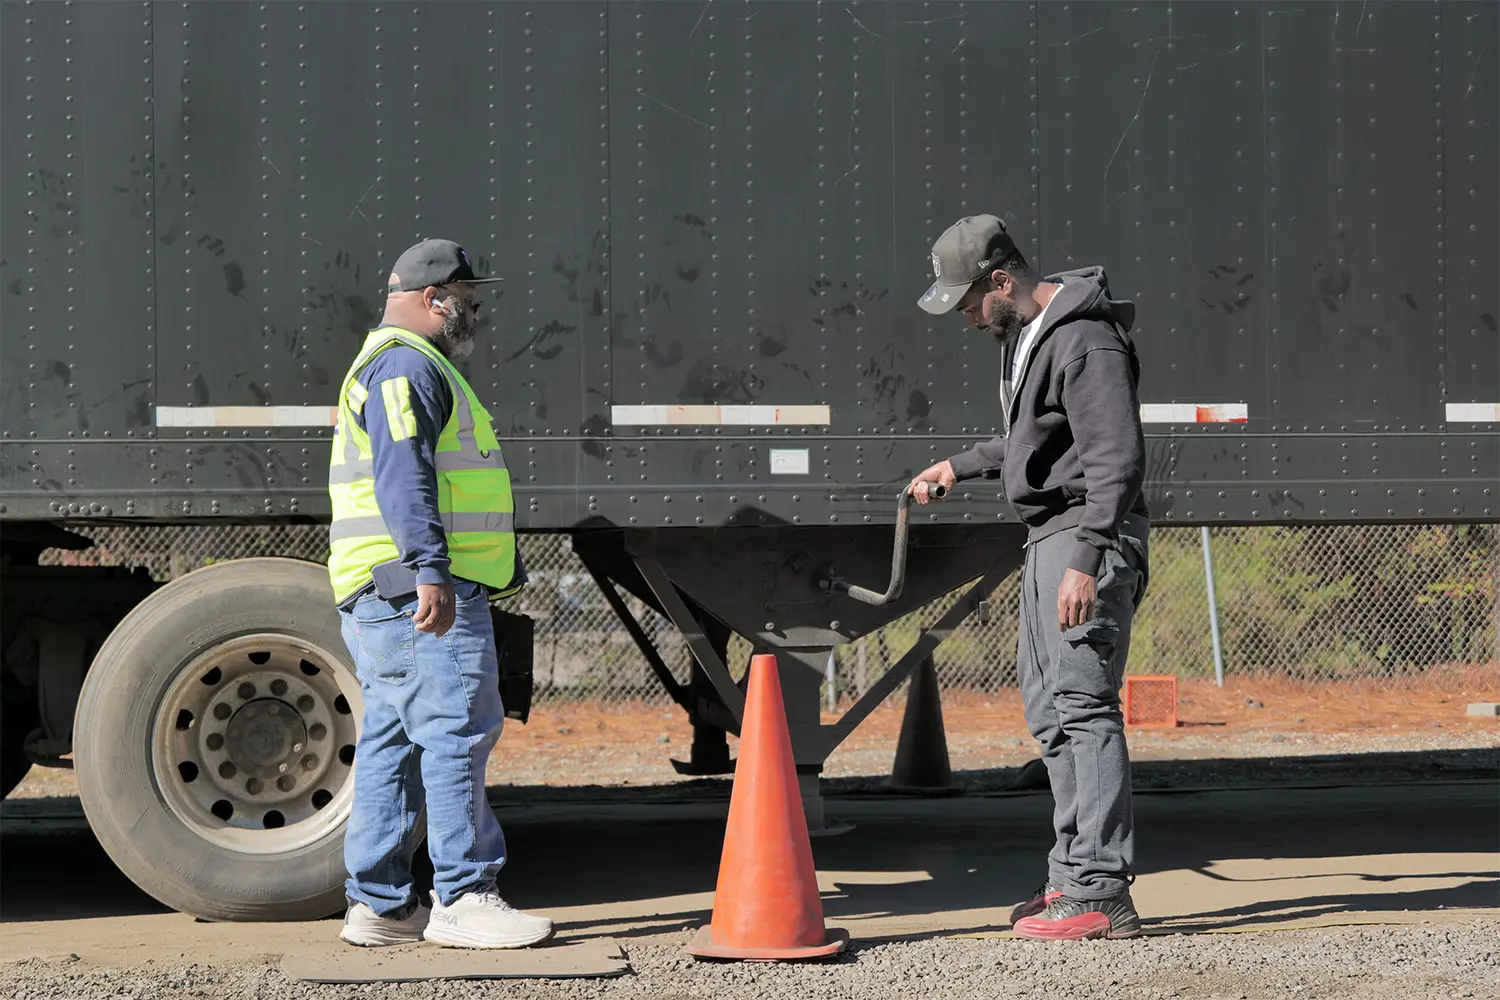
- Landing gear: Fully raised, with the crank handle secure and no missing parts.
- Reflective tape: Present and attached on the sides and rear.
- Rear lenses and reflectors: Clean, the right color, and not broken or missing.
What Causes an Automatic Failure?
Most of the pre-trip is scored item by item. Three things can end the inspection right away:
- Not following the examiner’s instructions. The examiner may stop the test if a driver ignores directions.
- An unsafe act. Examples include leaving the cab without setting the parking brake or climbing out without three points of contact.
- Getting the brake check wrong. Every part of the air brake check, or the hydraulic brake check on trucks without air brakes, must be done correctly.
Common Pre-Trip Mistakes
- Kicking the tires. A kick does not show air pressure. The driver has to mention using a tire gauge.
- Naming a part without explaining it. The examiner needs to hear what the driver is checking for.
- Leaving out a light. A light the driver does not ask the examiner to watch does not get credit.
- Checking only one end of the air lines. Connections must be checked on both the tractor and the trailer.
- Going fast makes it easy to skip an item. Saying the checklist out loud in the same order every time helps.
How Does CDS Prepare Students for the Pre-Trip?
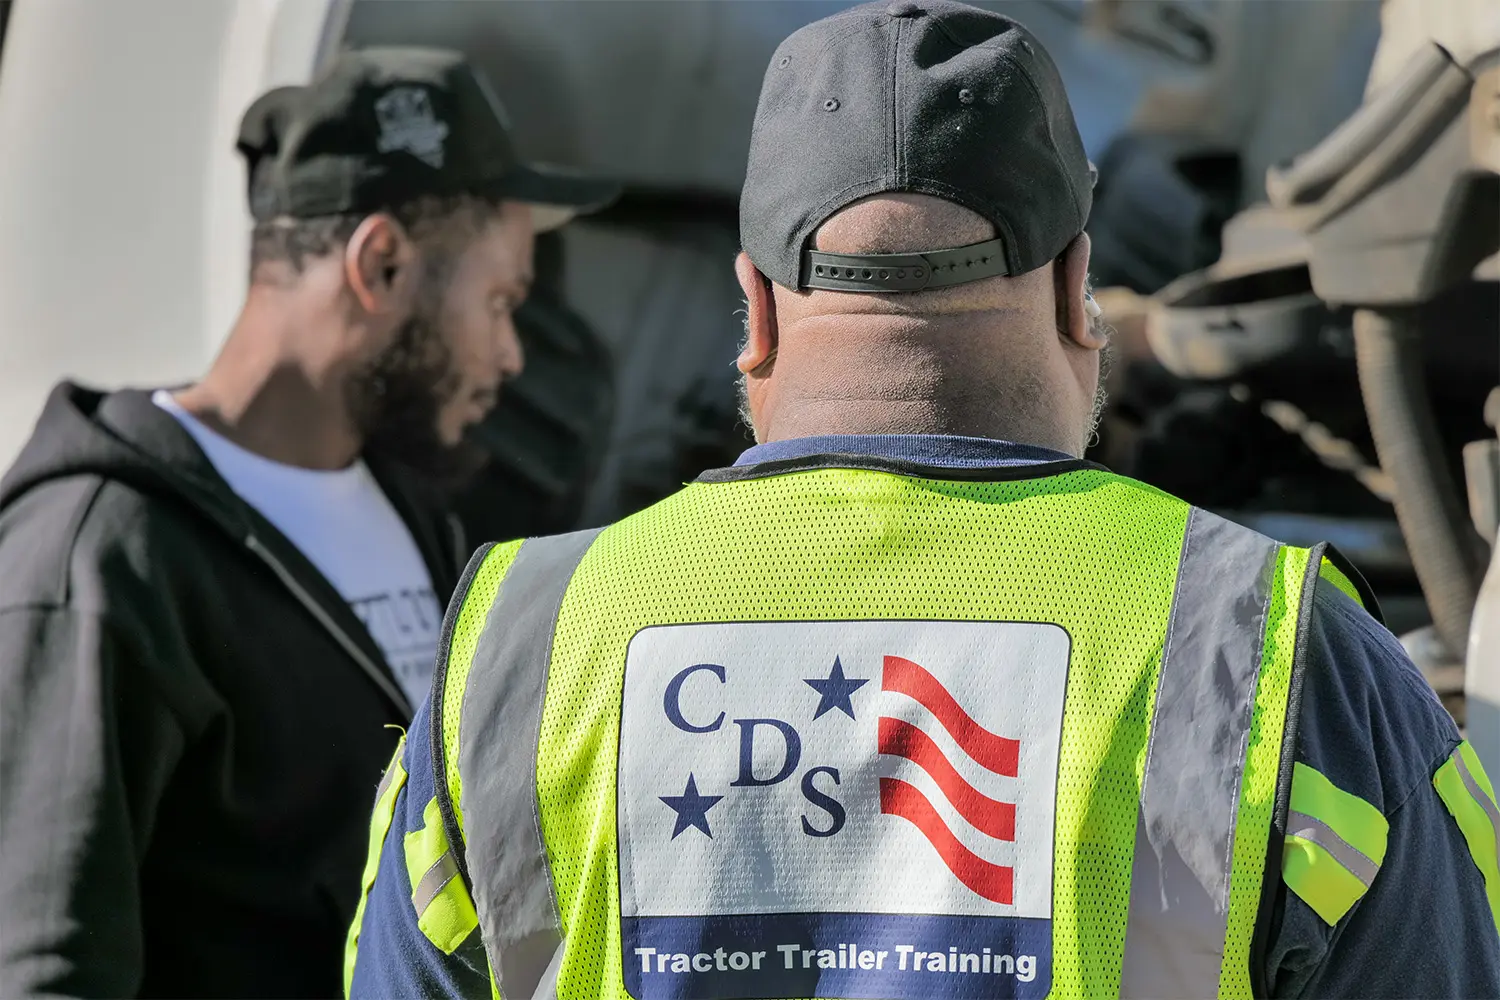
CDS Tractor Trailer Training students practice the pre-trip inspection on trucks as part of Class A CDL training. Instructors walk students through each section of the checklist, from the in-cab and air brake checks to the coupling and trailer. The goal is for each student to complete the full inspection without help before taking the skills test.
Students who want to plan ahead can see how much CDL training costs and check the upcoming Class Schedule. To learn more, request more info or call (844) 654-2235.
Frequently Asked Questions
How long does the Virginia CDL skills test take?
All three parts take about 90 minutes in total, according to Virginia DMV. The pre-trip inspection comes first.
What happens if a student fails the pre-trip inspection?
The student must retest on another day, since Virginia DMV allows the skills test only once per business day.
Can a driver ask the examiner to repeat instructions?
Yes. Drivers who do not understand an instruction should ask the examiner to explain it.
Can students take the CDL skills test at a CDL school in Virginia?
Yes, at some schools. Virginia DMV certifies certain Class A driver training schools to give the pre-trip and road skills tests to their own students.
Can drivers bring their own notes to the pre-trip test?
No. Drivers may use the official checklist during the test, but they cannot add notes or writing to it ahead of time.